Introduction
Welcome to LOCUS Person! This innovative data tool is designed to empower transportation planners with valuable insights into travel behavior within their regions.
Platform Overview
The LOCUS data suite integrates data from diverse sources, including location-based services, transit farecard information, connected vehicles, and household and census surveys. By combining these datasets, it offers a comprehensive understanding of travel patterns across different modes, purposes, and community type. This tool is tailored to the specific needs of transportation planning professionals, who play a crucial role in shaping the future of travel infrastructure.
Purpose
The primary purpose of this tool is to provide transportation planners with a powerful and intuitive platform to access and analyze travel behavior data. It serves as a strategic resource for making informed decisions related to transportation infrastructure, policy development, and urban planning.
Key Features
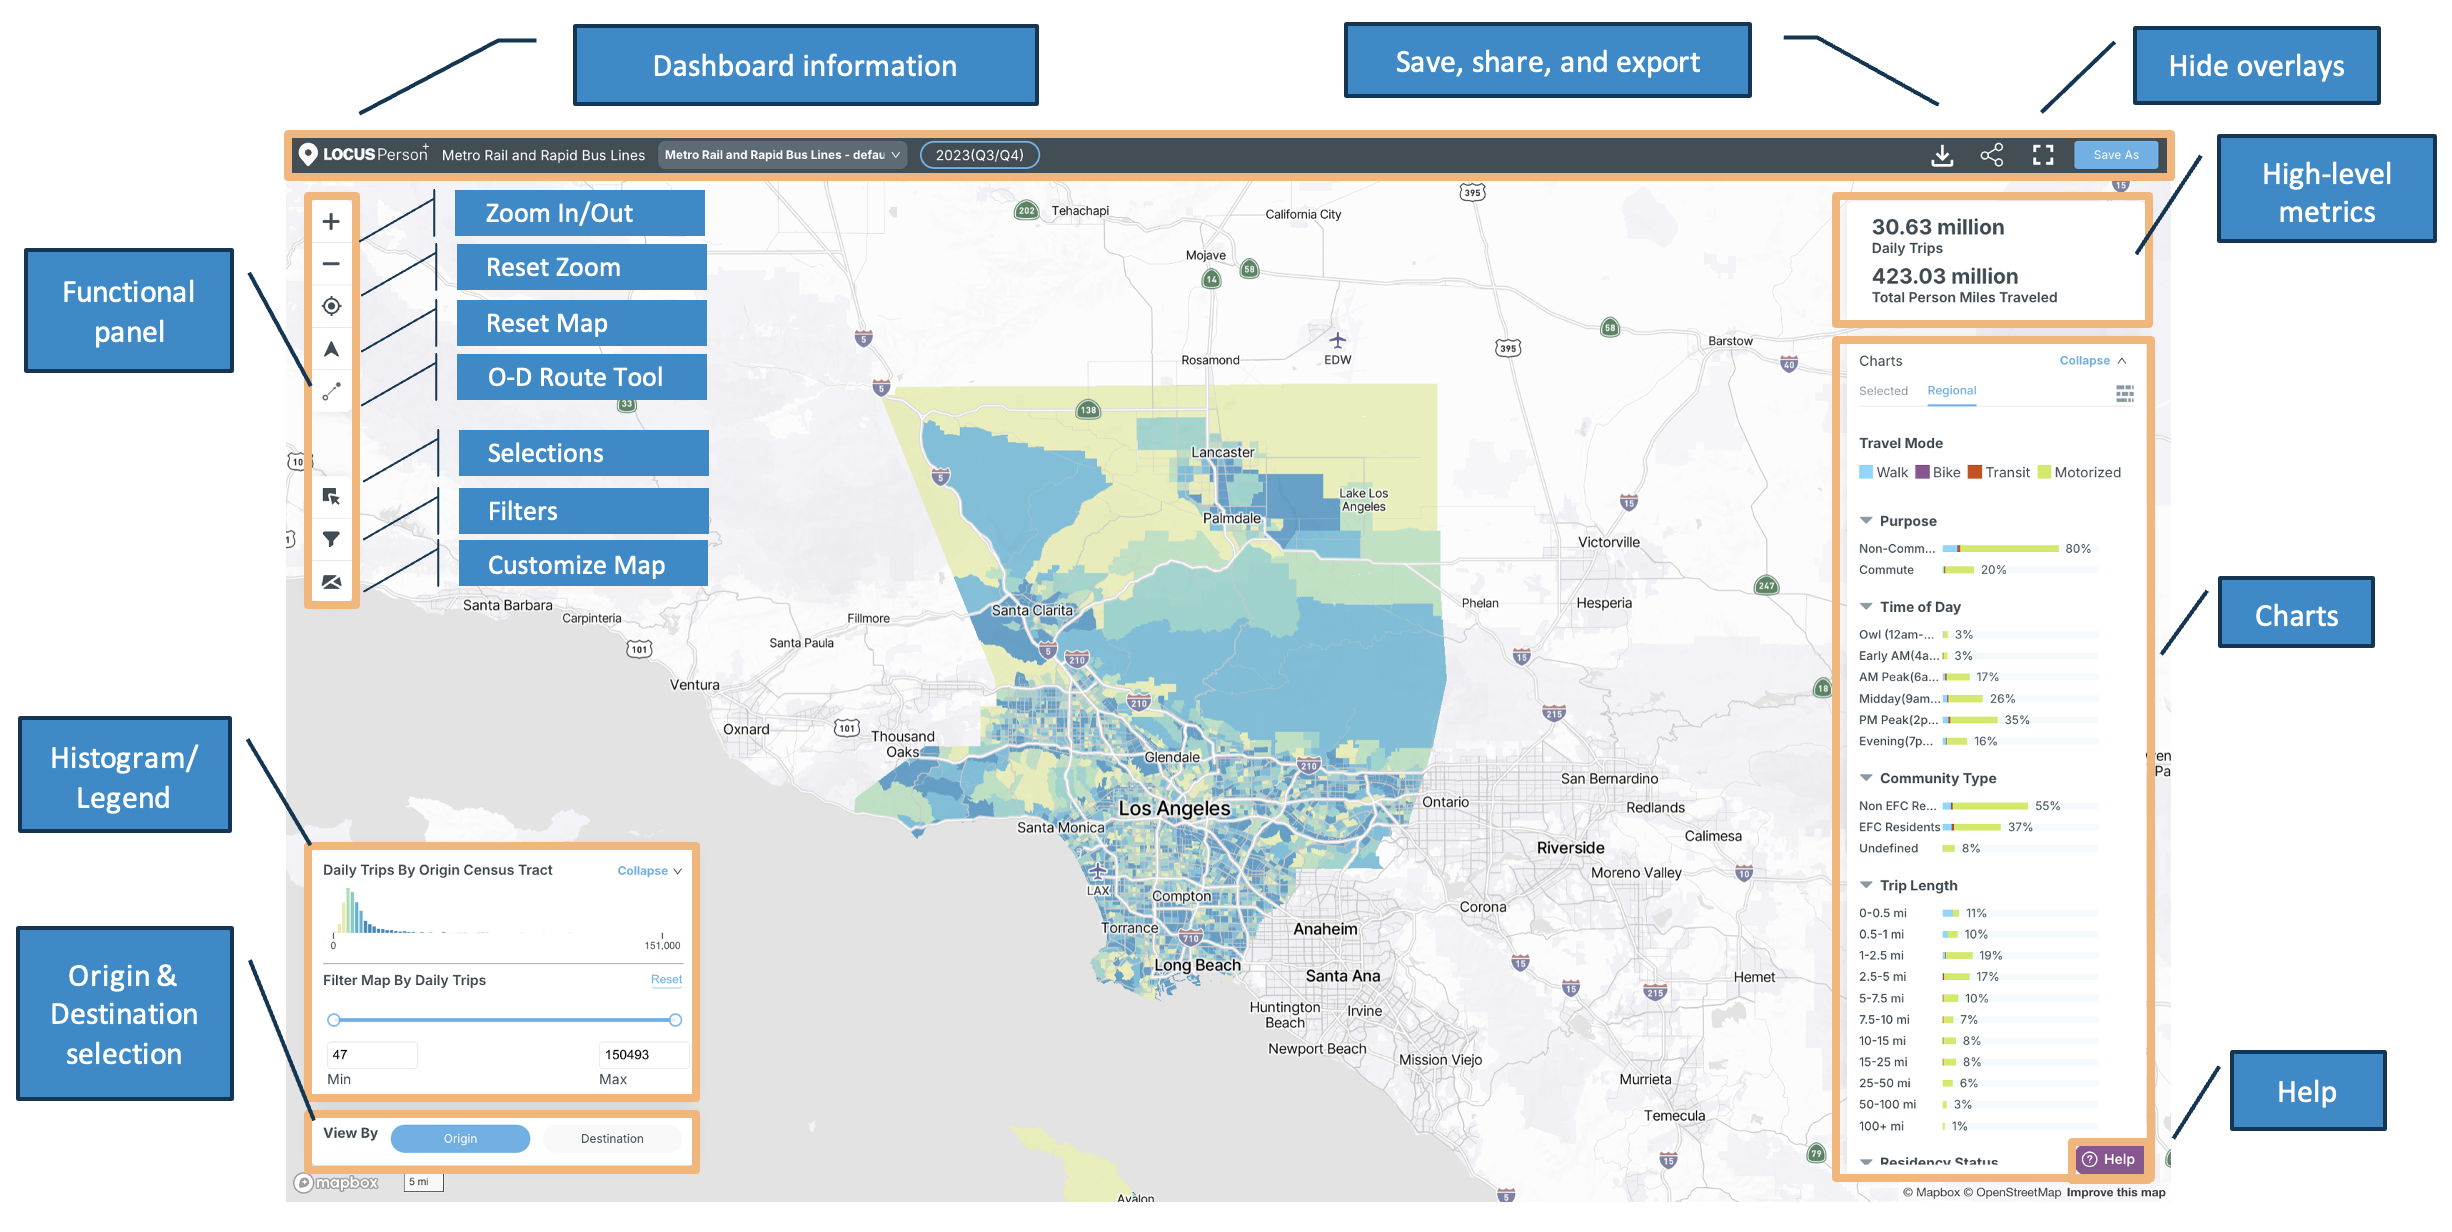
Data Fusion: Integration of diverse data sources for a comprehensive view.Filter and Visualize: User-friendly filters to explore data by travel mode, trip length, trip purpose, day of the week, time of the day, community type, and resident status.Interactive Maps: Visualize data on interactive maps for a spatial understanding of travel behavior.Customization: Tailor charts, color scales, and map overlays to suit your preferences.Histogram Legend: Easily interpret data metrics such as daily trips, person miles traveled, trip shares, and trip density.Save, Share, and Export: Save views with custom selections, share views with other users, and download data
How to Use this Documentation
This documentation serves as your guide to effectively utilize the features of our cartographical tool. Whether you're a new user seeking setup instructions or an experienced planner exploring advanced customization options, you will find the information you need here.
Accessing LOCUS and logging in
- Login at LOCUS Portal
- Click on the "Projects" tab
- Click on an existing project in the "Projects" table or create a new project
- Click on an existing view under "LOCUS Person"
- The dashboard should open in a new window, where you can interact with it
- Use the "Help" icon to find answers to any questions you may have or to submit a ticket to request further assistance
Create a New Project
Step 1: Select the data product you wish to create a project with. Here, you will be able to view all purchased products, as well as products that are available for use.

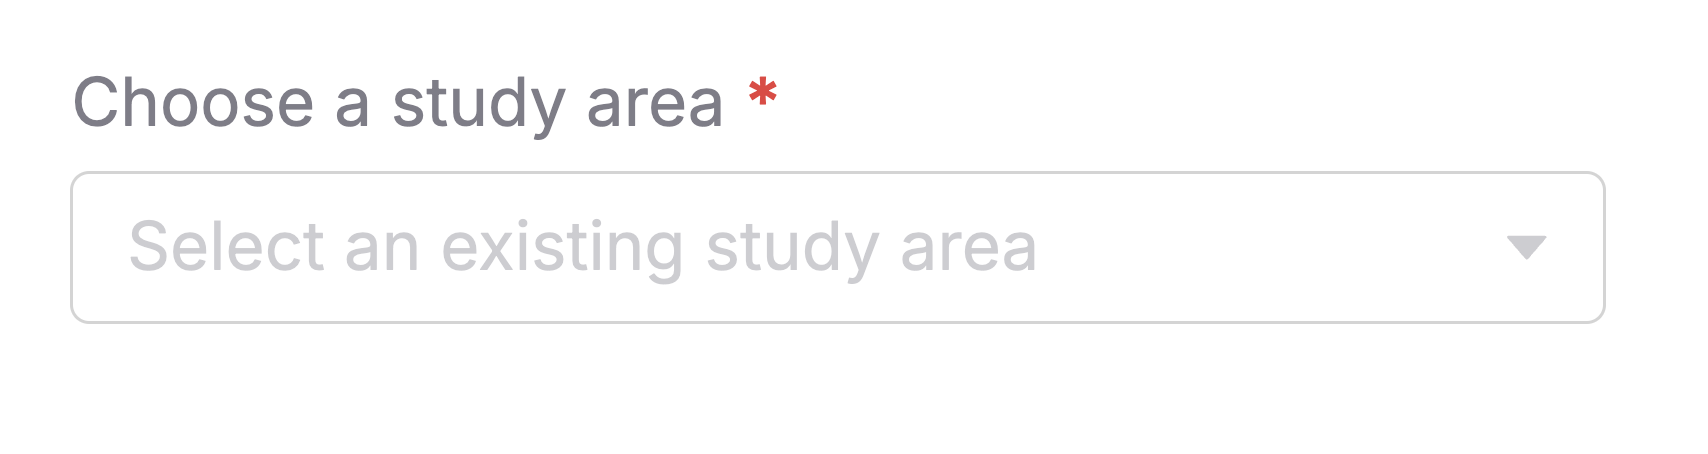
Step 2: Specify a dataset/study area for your project. This selection will apply to all products, dashboards, and views within this project. These selections contain only the datasets that have been purchased by you.

Study area options include:
- Predefined study areas
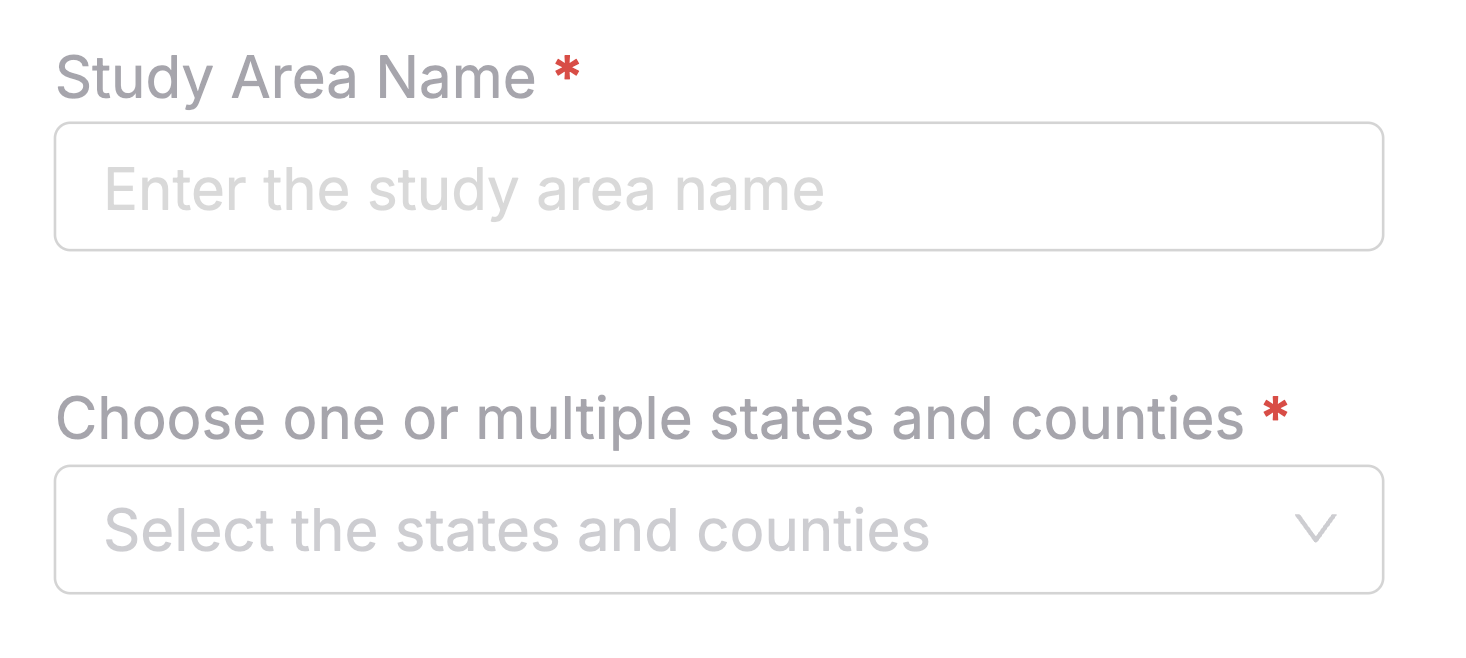
- Selecting from one or multiple states and counties
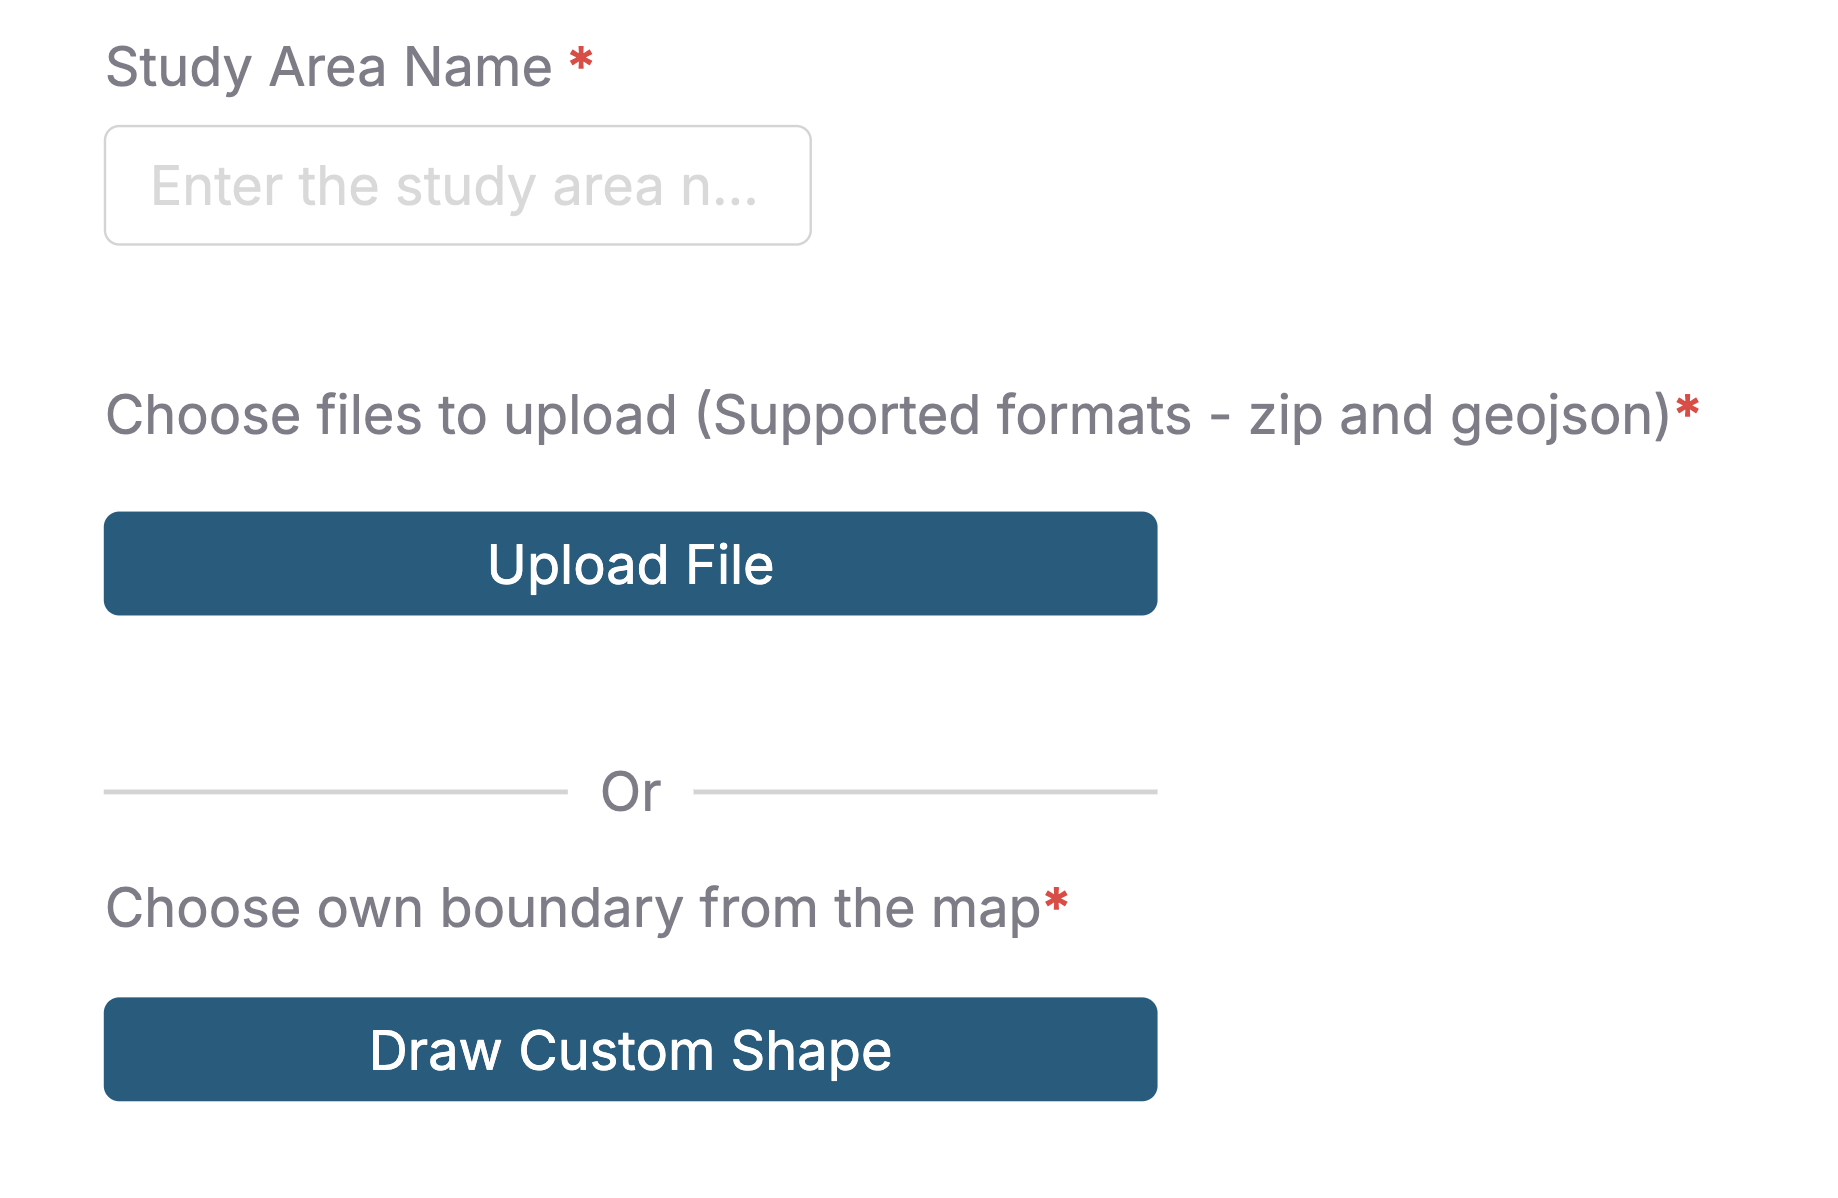
- Uploading a new study area through a Zip or GeoJSON file or by drawing a custom shape
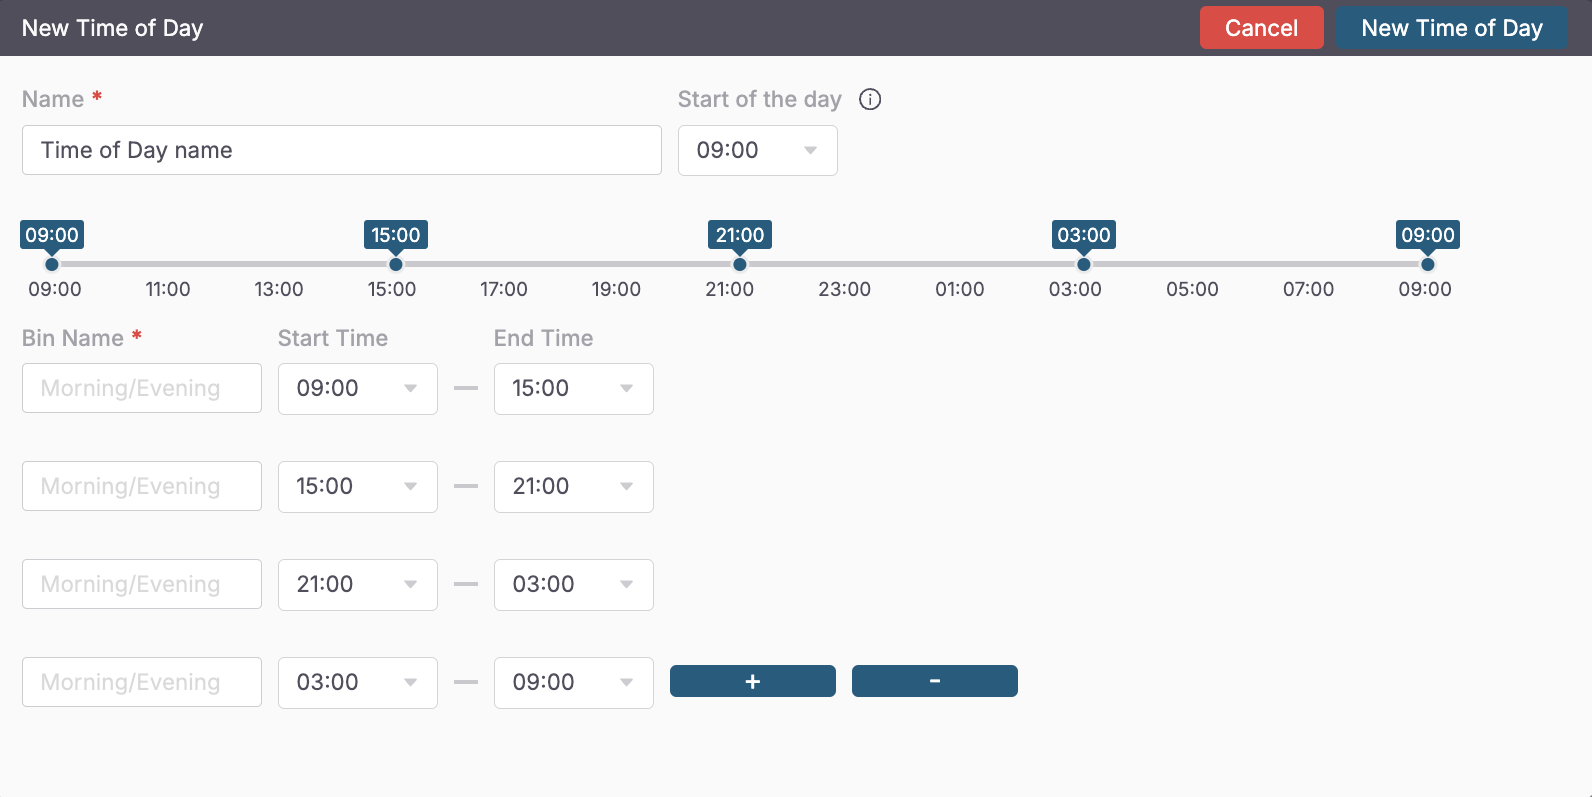
Step 3: Specify the time of day parameters you want to apply for this project. The smallest time of day bin that can be specified is 30 minutes. These intervals will add up to create a 24 hour period.
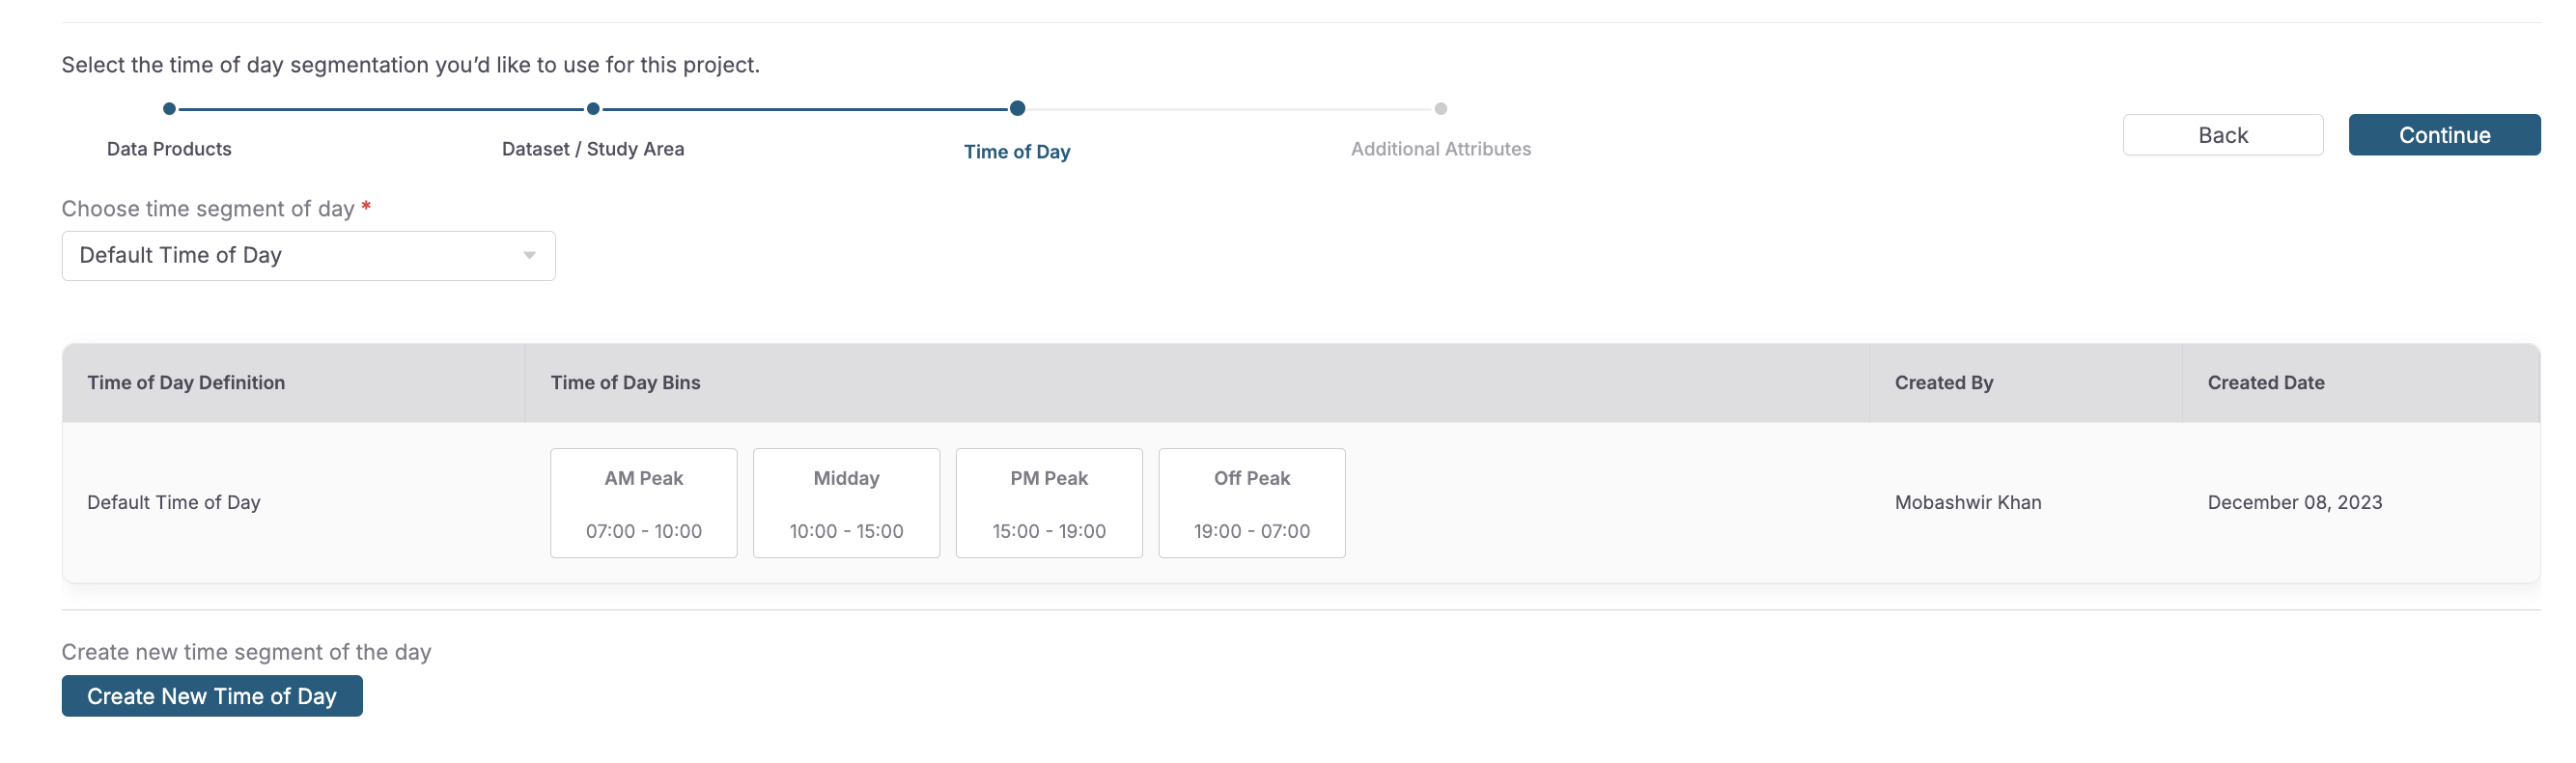
How to create a new time of day:
- Name your selection based on the attributes you have assigned to each interval.
- Select where your day should begin. Note that each day will start and end at the same time.
- Create as many discrete intervals as needed. Use the buttons to create or delete a new time-of-day bin.
Step 4: Please make selections for additional attributes
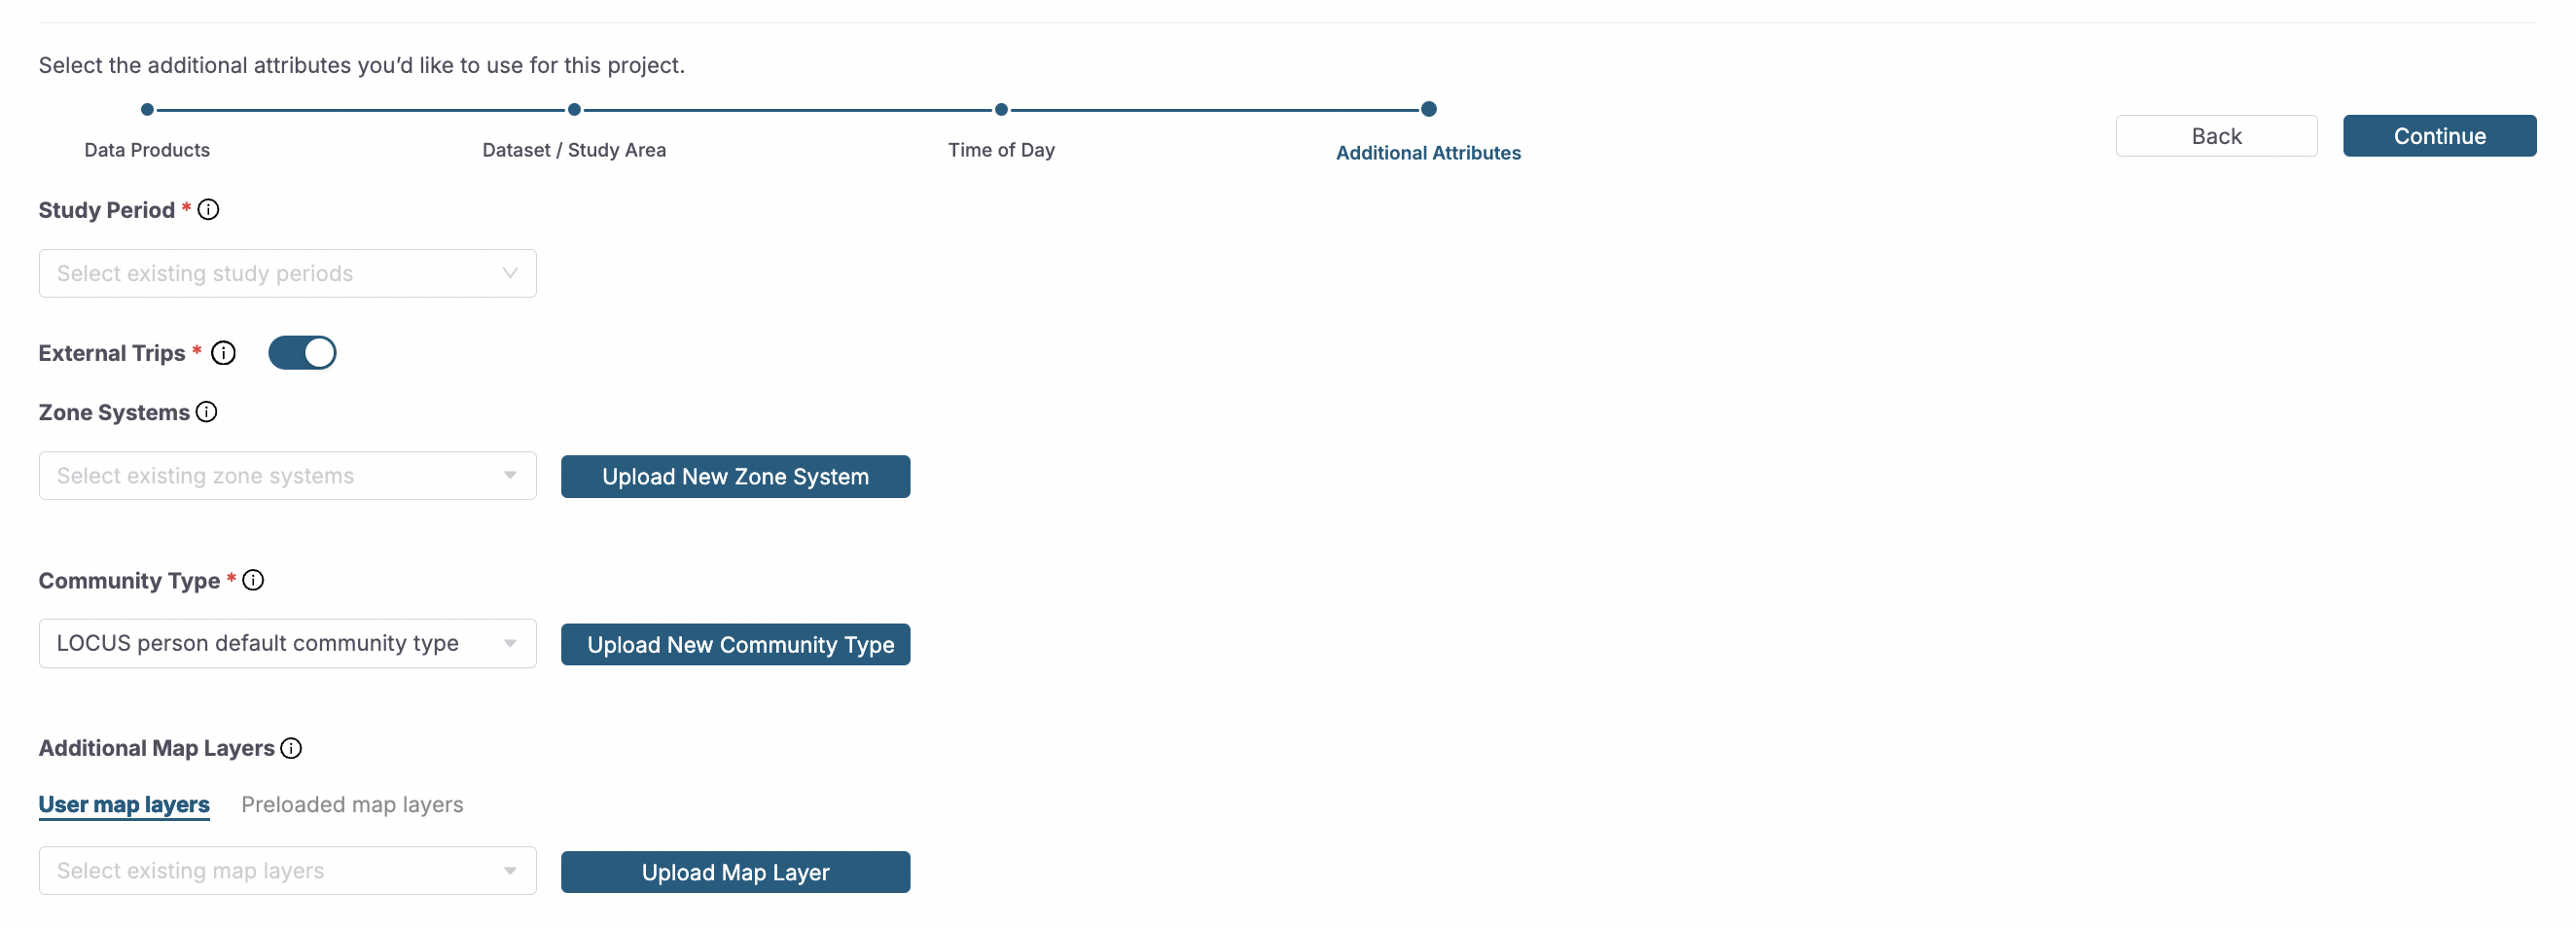
Selections include:
-
Study Period: Select one or multiple quarters of licensed data to examine in your project. -
External Trips: Use this toggle to define whether your analysis accounts for trips that originate or are destined outside of the defined study area -
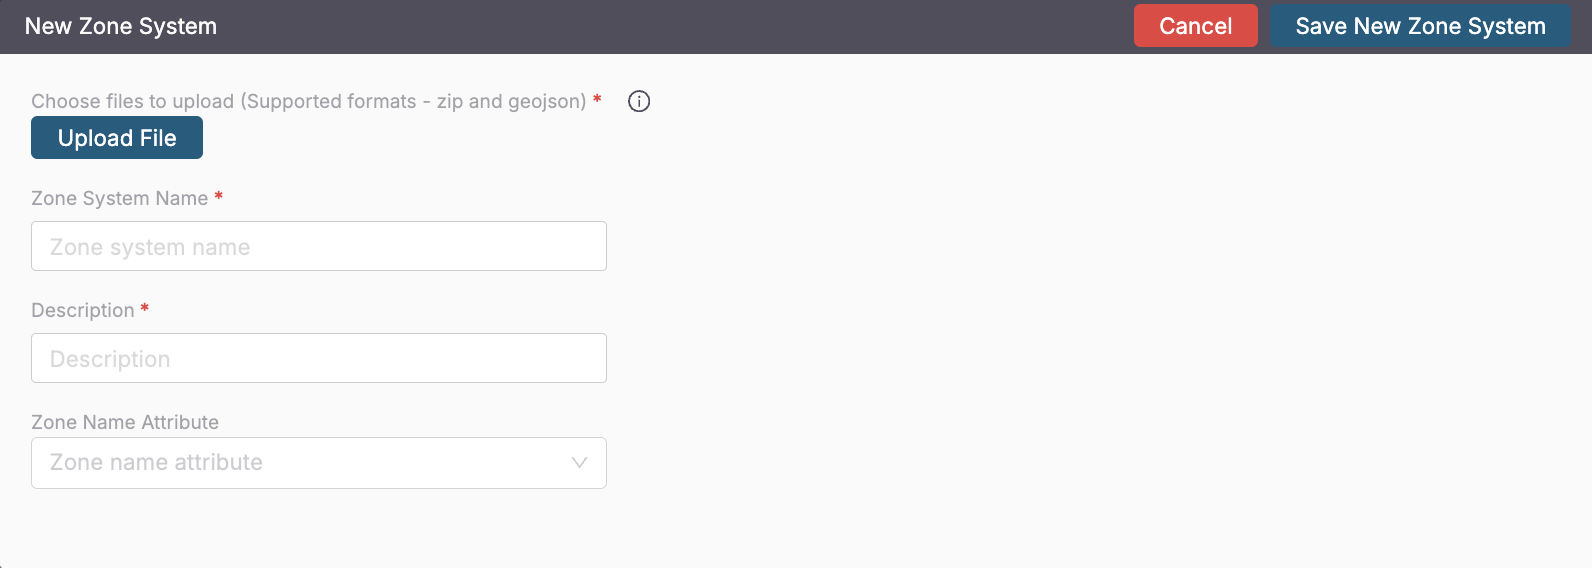
Zone System: Default zone systems are counties and block group. Options include selecting from existing zone systems or uploading a .ZIP file
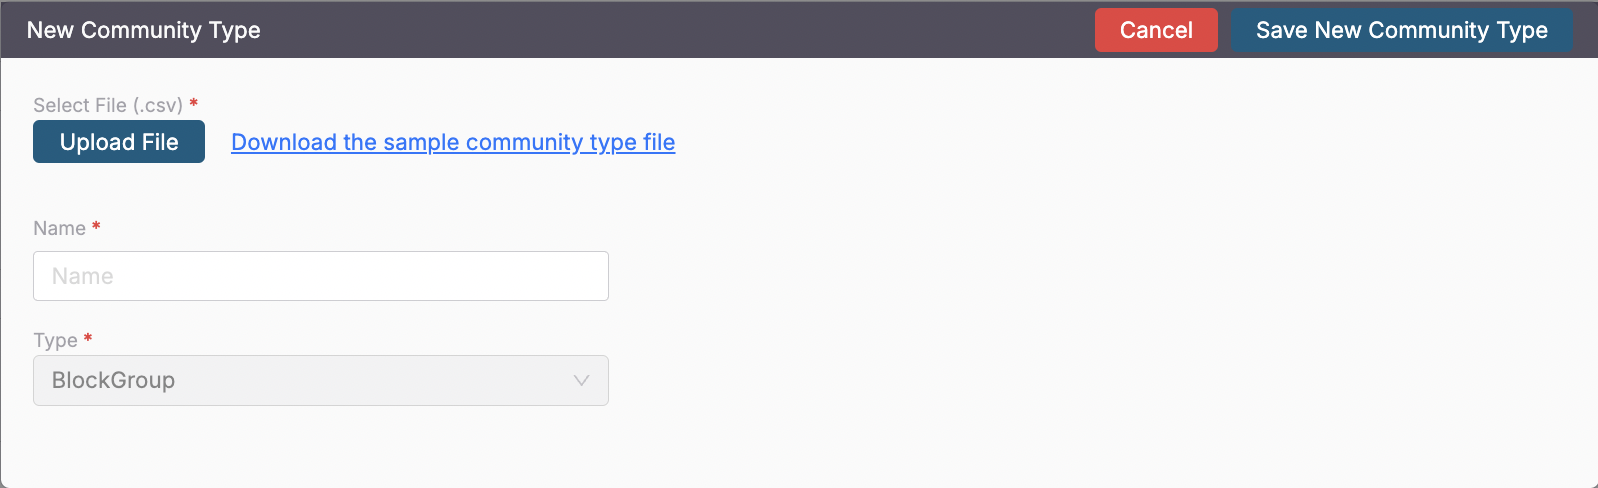
Community Type: Community type is a classification that associates each block group within the defined study period to an community type categorical value. Options include selecting a generic community type description or uploading a .CSV file
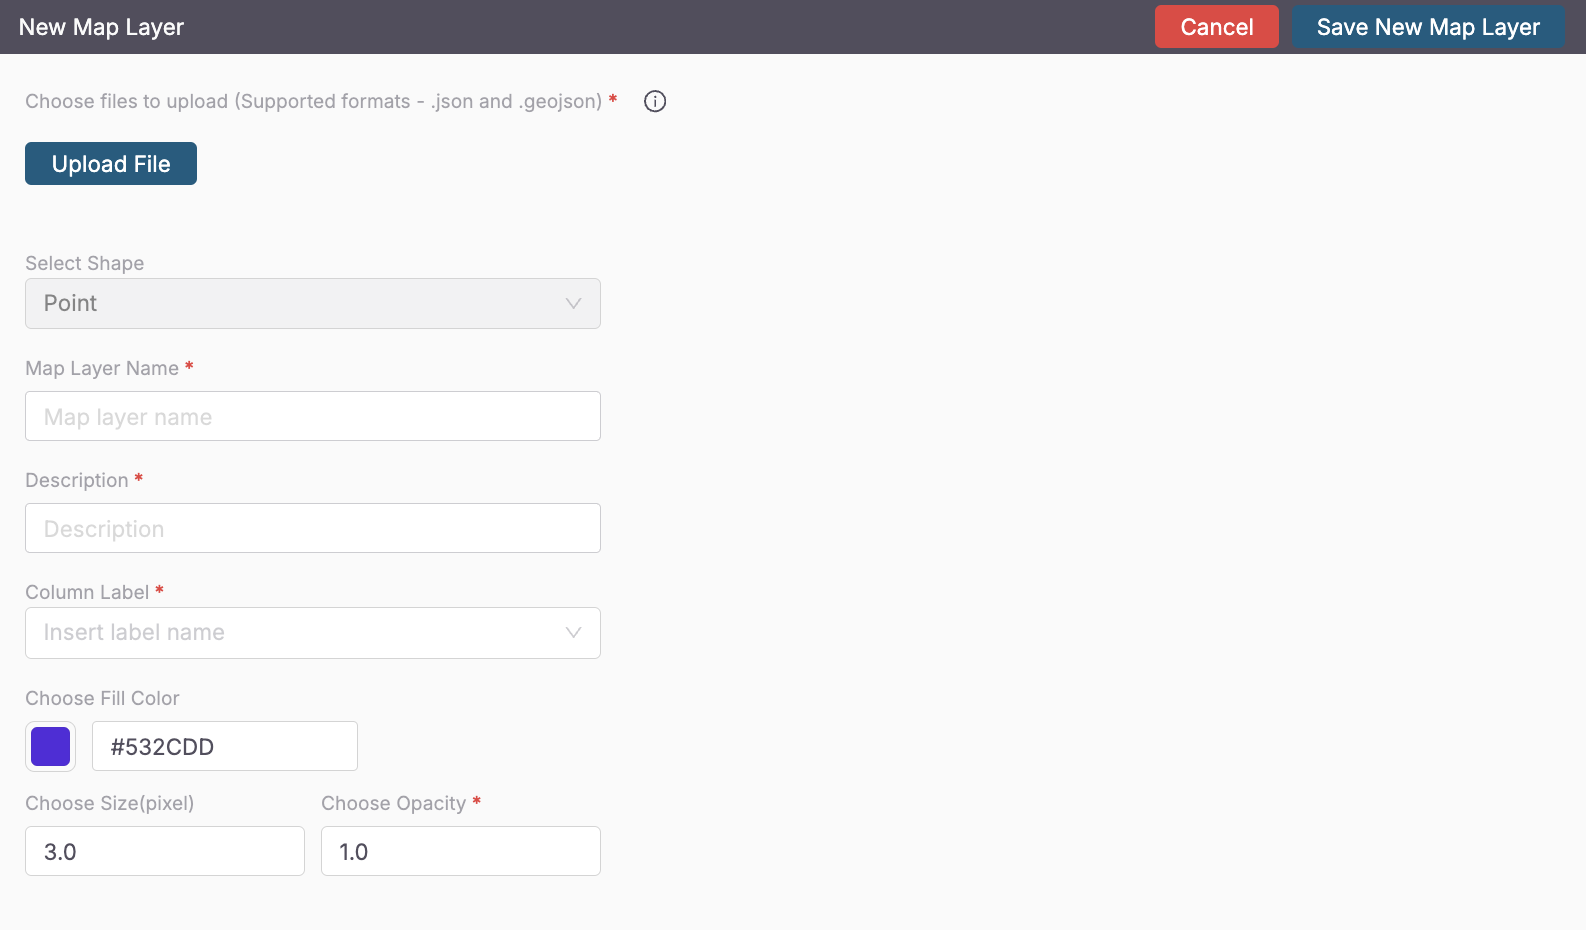
Additional Map Layers: To use an existing map layer, options include previously used files and those that are preloaded in the system. You can also create a map layer to overlay and conduct specific analyses. Preview and upload this new map layer.
Note: If the creator of a specific project is removed from the organization, ownership of the project will automatically transfer over to the client admin.